
Mastering the Art of Laser Cutting: A Step-by-Step Guide on How to Work a Laser Cutter
Introduction
Laser cutting has revolutionized industries ranging from manufacturing to artistry, offering precision and efficiency that traditional methods cannot match. If you’re new to this technology, you might be wondering, how do I work a laser cutter effectively? This article will guide you through the process of using a CO2 laser cutter, focusing on its operation, safety measures, and best practices for achieving professional results.
Understanding Your Laser Cutter
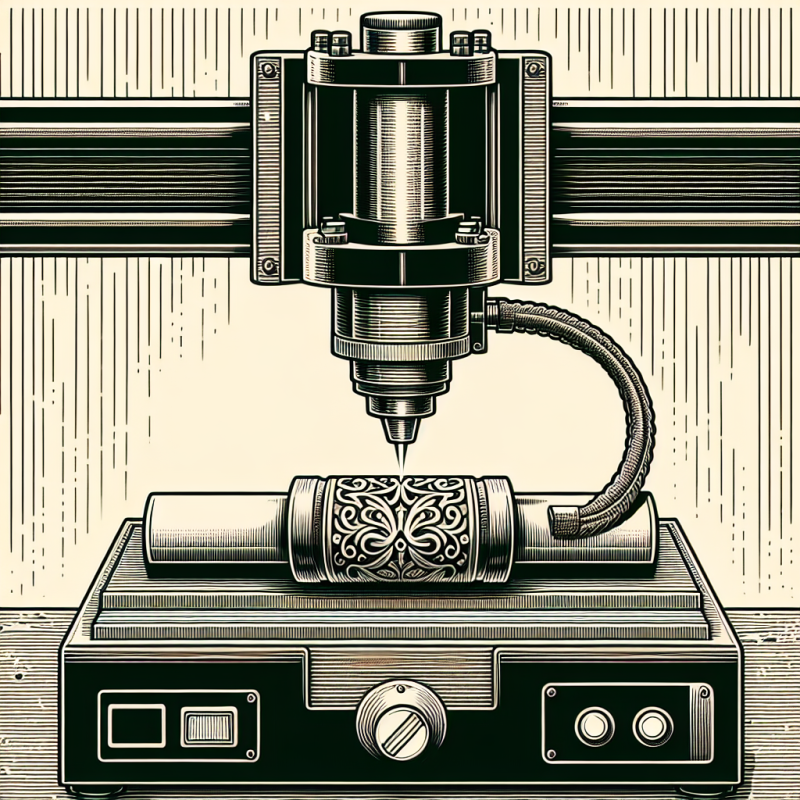
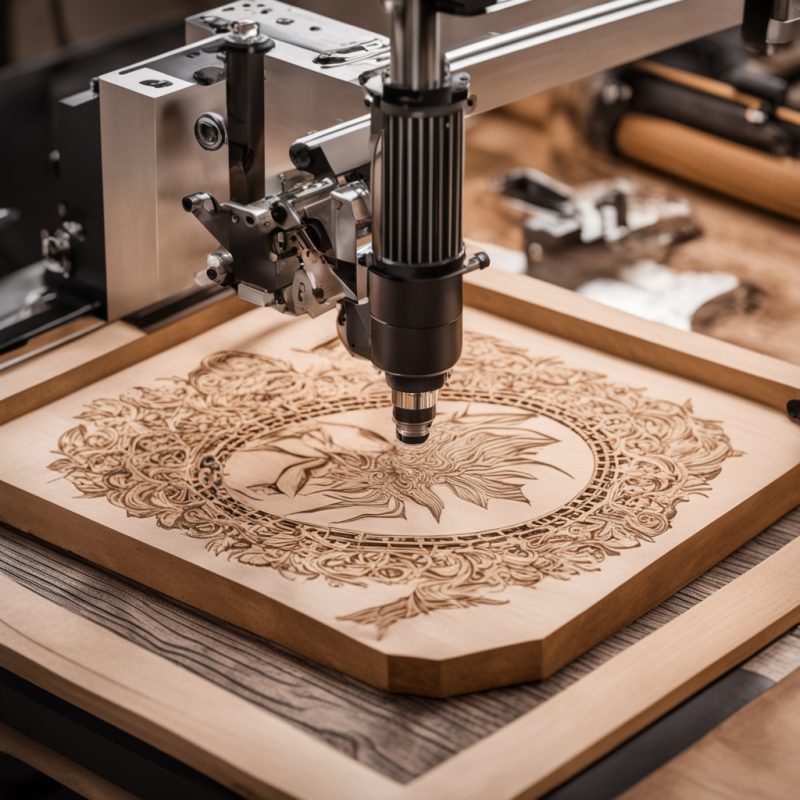
Before diving into the world of laser cutting, it’s essential to understand your equipment. A CO2 laser cutter uses a carbon dioxide laser to cut or engrave materials like acrylic, wood, and metal. The machine emits a focused beam of light that vaporizes or burns away material, creating precise cuts or engravings.
One common question is, what can I cut with a laser cutter? The answer depends on the type of material you’re working with. For instance, acrylic is a popular choice due to its smooth finish and ease of cutting. However, materials like stainless steel require higher power settings and may produce fumes that need proper ventilation.
Setting Up Your Workspace
Safety first! Always ensure your workspace is well-ventilated and free from flammable materials. Laser cutting generates heat and can produce hazardous fumes, especially when working with plastics or treated wood. Invest in a laser cutter exhaust system to maintain air quality and prevent accidents.
Important tip: Keep your laser cutter clean. Dust and debris can interfere with the machine’s performance and reduce its lifespan. Regularly check and clean the lens, mirrors, and other components to ensure optimal functionality.
Selecting the Right Materials
The success of your project hinges on choosing the right materials. For example:
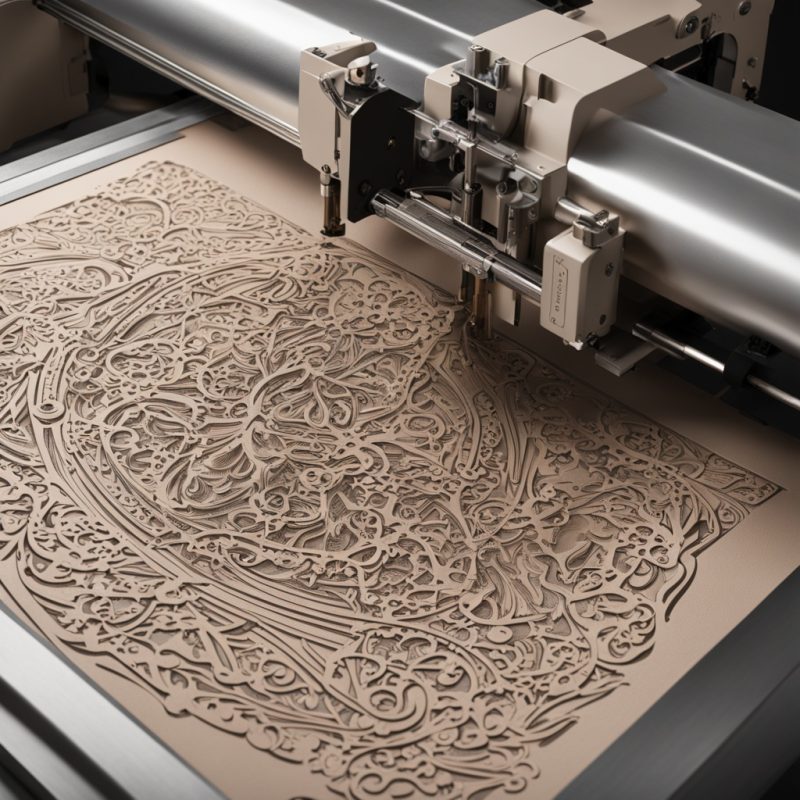
- Acrylic is ideal for cutting intricate designs due to its smooth finish and lack of splintering.
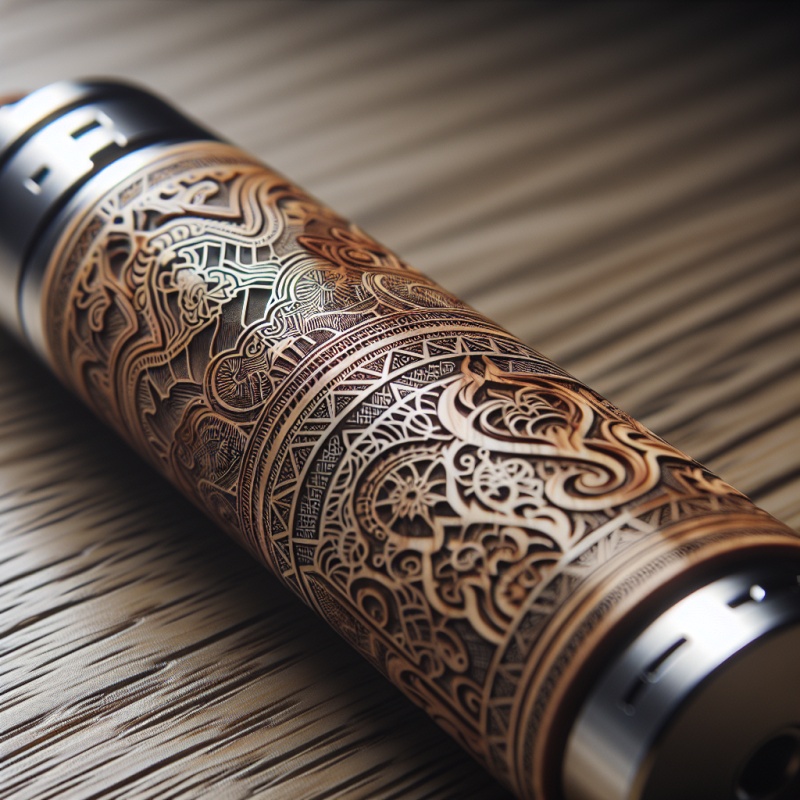
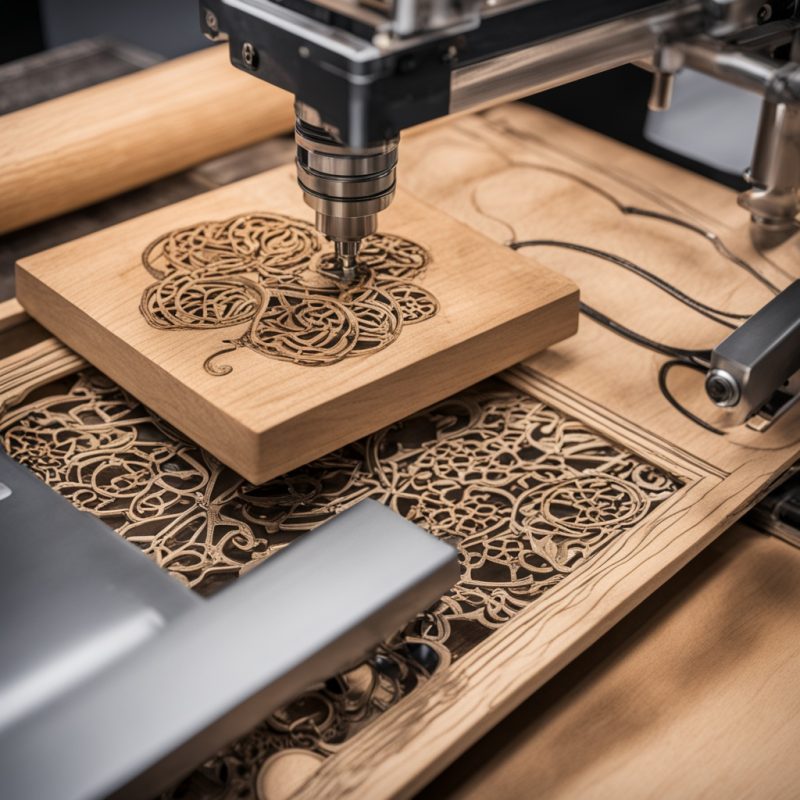
- Wood is perfect for decorative items, but be cautious with treated wood as it can release harmful chemicals when burned.
- Metal requires higher power settings and may need additional cooling to prevent warping.
Question: Can I use fabric in a laser cutter? Yes, but it’s important to test the material first. Fabrics with synthetic fibers can melt or catch fire, so always work in small batches and keep a fire extinguisher nearby.
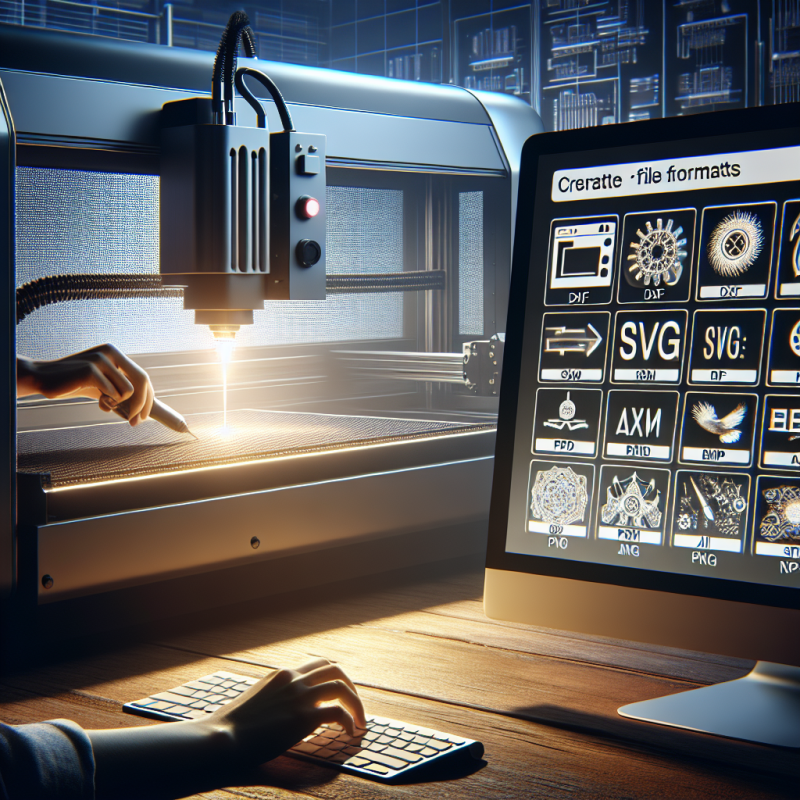
Designing Your Project
The design phase is crucial for achieving professional results. Use laser cutter software to create your patterns. Popular choices include CorelDRAW, Adobe Illustrator, and Fusion 360. These programs allow you to draft intricate designs that can be easily transferred to your laser cutter.
Tip: Keep your design simple for your first project. Overly complex designs may lead to errors or uneven cuts. Start with basic shapes and gradually move on to more elaborate patterns as you gain experience.
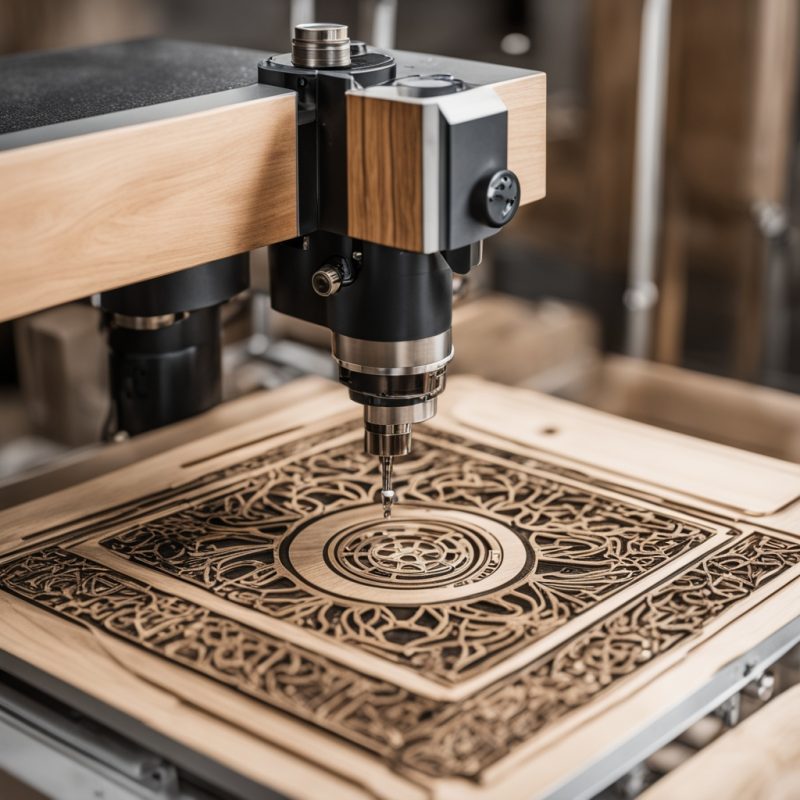
Loading Your Material
Once your design is ready, it’s time to load the material into your laser cutter. Follow these steps:
- Cut your material to size using a saw or shear for straight edges.
- Place the material on the bed of the laser cutter, ensuring it’s flat and secure.
- Use clamps or weights to hold the material in place, preventing movement during cutting.
Important note: Avoid using adhesives to secure your material. They can leave residues on the laser bed and may emit toxic fumes when heated.
Calibrating Your Laser Cutter
Before starting, calibrate your machine to ensure accurate cuts. Most laser cutter models come with calibration tools or software wizards that guide you through the process.
Here’s how to do it:
- Select the “Calibration” option in your laser cutter software.
- Follow on-screen instructions to adjust focus and alignment.
- Run a test cut on scrap material to check for accuracy.
Question: Why is calibration important? Calibration ensures that the laser beam hits the exact spot you’ve designed, preventing misaligned cuts and wasted materials.
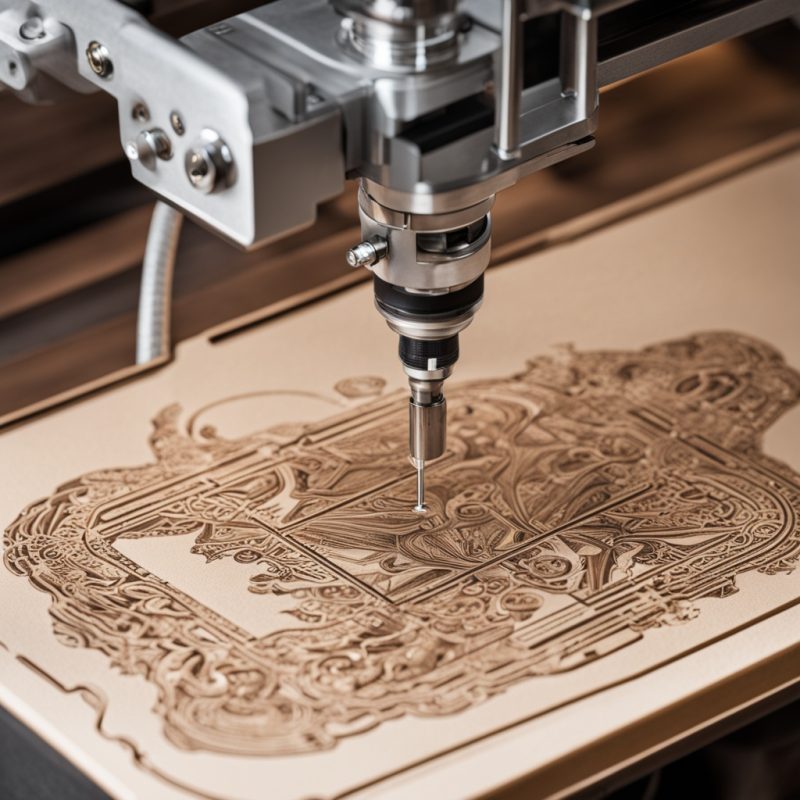
Starting the Cutting Process
With everything set up, it’s time to start cutting. Here are some tips for a smooth process:
- Begin with low power settings and gradually increase them as needed. Overpowering can cause burns or warping.
- Use the “Test Cut” feature to preview your design without fully engaging the laser.
- Monitor the cutting process closely, especially if working with materials prone to fumes or sparks.
Important reminder: Never leave the machine unattended while it’s running. Emergencies can arise quickly, and quick action is essential to prevent damage or accidents.
Post-Cutting Finishing Touches
Once your project is complete, there are a few finishing touches to consider:
- Cool the material down before handling to avoid burns.
- Sand rough edges for a polished look, especially with acrylic or wood.
- Clean up any residue from the laser bed using a soft brush or vacuum cleaner.
Tip: Apply a protective coating to your finished piece, such as clear acrylic spray, to enhance durability and prevent fading.
Maintenance and Troubleshooting
To keep your laser cutter in top condition, perform regular maintenance:
- Clean the lens and mirrors after each use to remove dust or residue.
- Check belts and pulleys for wear and replace them as needed.
- Keep software updated to ensure compatibility with new features and materials.
Common issue: Why are my cuts uneven? Uneven cuts can result from improper calibration, dirty lenses, or worn-out belts. Re-calibrate your machine and inspect all components for wear.
Conclusion
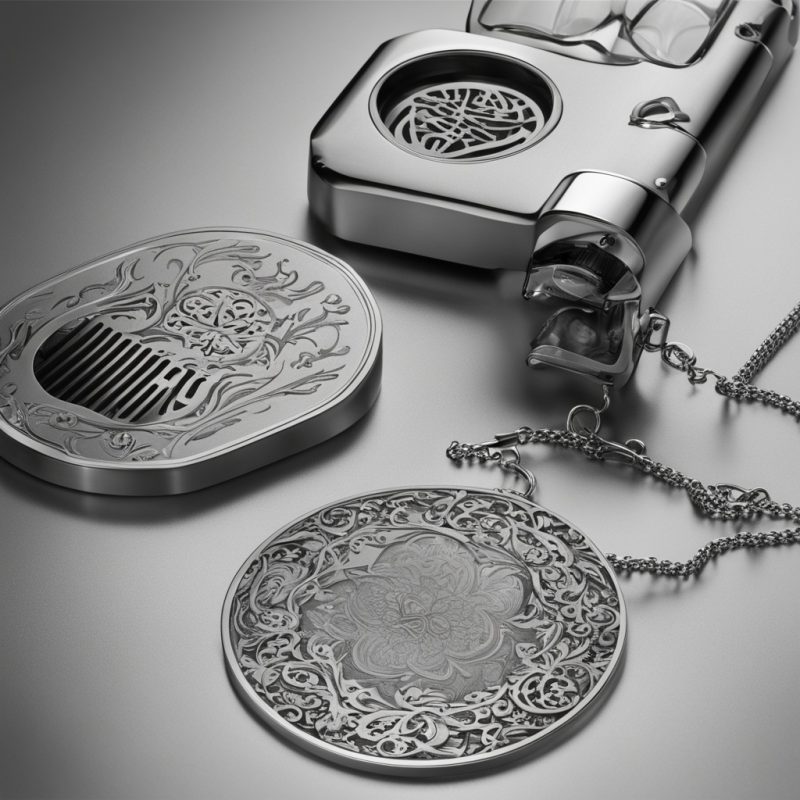
Mastering how to work a laser cutter takes time and practice, but with the right approach, you can create stunning projects that showcase your creativity and precision. Remember to prioritize safety, maintain your equipment, and experiment with different materials to expand your skills. Whether you’re crafting custom signs, jewelry, or decorative items, your laser cutter is a versatile tool that opens up endless possibilities.
Now that you’ve learned the basics, it’s time to put your knowledge into action. Try out your new skills on a small project and gradually work your way up to more complex designs. Happy cutting!